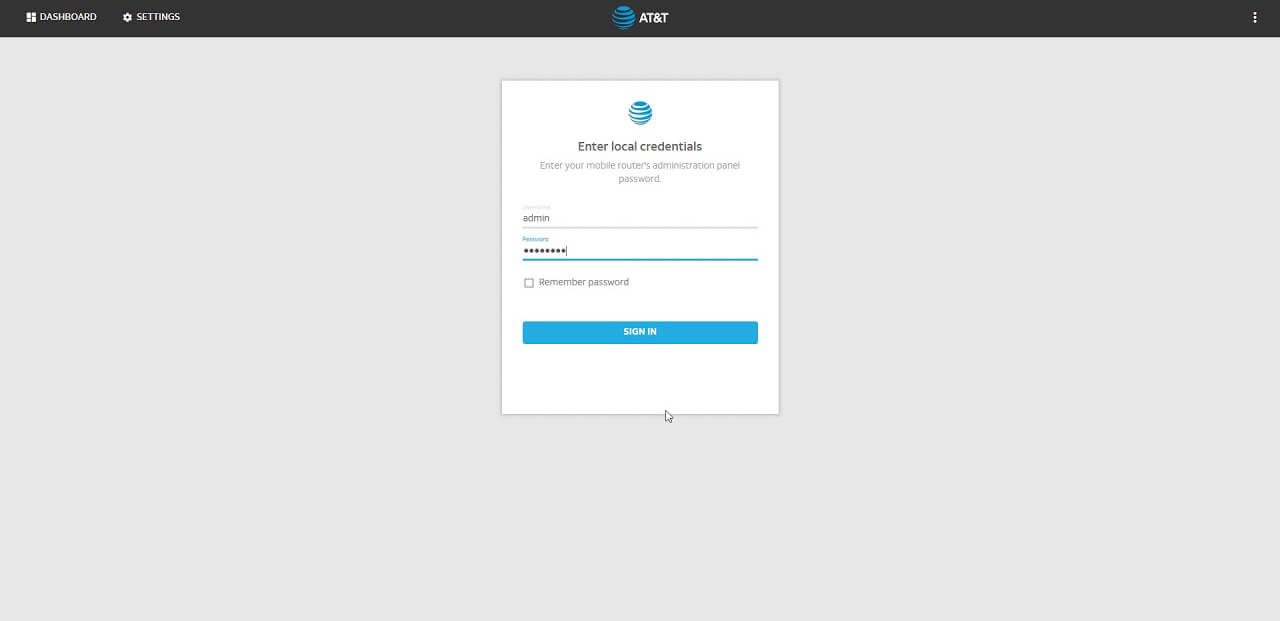
Are you looking for a convenient way to access and manage your AT&T router settings? Look no further! With ATTWiFiManager, you can easily log into the AT&T router admin panel and take control of your router and Wi-Fi network settings. In this article, we will guide you through the simple steps to login and make changes to your AT&T router.
How to Login to ATTWiFiManager?
To begin, ensure that your PC or laptop is connected to your AT&T router either via an Ethernet cable or by connecting to the Wi-Fi network. Once you’re connected, follow these easy steps to log into your AT&T router:
-
Open a web browser on your PC or laptop.
-
In a new blank tab, type
http://attwifimanager/orhttp://192.168.1.1and press Enter. -
Enter the password to continue. The default password for AT&T Routers is attadmin (remember, the password is case-sensitive).
-
Once you enter the correct password, you will be logged into the AT&T Router Settings page. From there, you can manage all the settings of your router.
How to Change the AT&T Router Wi-Fi Password and SSID?
For security reasons, it is highly recommended to change the default Wi-Fi network SSID and password that comes with your new router. This ensures that your router and network are protected from unauthorized access. If you’re unsure how to change the password, don’t worry, we’ve got you covered!
Change Wi-Fi Network Password:
Follow these steps to change the Wi-Fi password on your AT&T Router:
-
Log into the AT&T Router Settings using the steps mentioned above.
-
Once logged in, you will be on the home page. Navigate to Settings > Wi-Fi from the left-side menu.
-
In the Main Wi-Fi Network section, locate the Wi-Fi Password field.
-
Enter the new Wi-Fi password of your choice in the provided field.
-
Click on Apply.
-
The Wi-Fi password will be changed, and you will need to reconnect to the Wi-Fi network on all your previously connected devices.
Change Wi-Fi Network Name/SSID:
Follow these steps to change the Wi-Fi Network Name/SSID on your AT&T Router:
-
Log into the AT&T Router Settings using the aforementioned method.
-
You will land on the home screen of the router.
-
From the left menu, select Settings > Wi-Fi.
-
In the Main Wi-Fi Network section, find the Wi-Fi Network Name field.
-
Enter the new Wi-Fi Network Name/SSID of your choice in the provided field.
-
Click on Apply.
-
The AT&T Wi-Fi Network Name/SSID will be changed, and you will need to reconnect from your previously connected devices as they will be disconnected from the network.
With these simple steps, you can easily login to ATTWiFiManager and make changes to your AT&T router settings. Take control of your router and Wi-Fi network to ensure a secure and smooth online experience. Start managing your AT&T router today and enjoy a seamless internet connection!
Remember, if you have any concerns or further questions, it’s always a good idea to reach out to AT&T customer support for assistance. Happy browsing!
