To unlock the full potential of your CenturyLink router, you need to access its settings page. But don’t worry, it’s easier than you think! Whether you’re a tech-savvy guru or a beginner in the networking world, we’ve got you covered. In this article, we’ll show you step-by-step how to log in to your CenturyLink router settings page and make the necessary changes to enhance your WiFi experience. So grab a cup of coffee and let’s dive in!
Logging In to CenturyLink Router Settings
Before we begin, make sure your PC is connected to the CenturyLink WiFi network. You can do this either wirelessly or by using an Ethernet cable. Internet connectivity is not required at this stage.
- On your PC connected to the CenturyLink network, open a web browser of your choice.
- In the URL bar, type the default IP address of the CenturyLink router: http://192.168.0.1 and hit Enter.

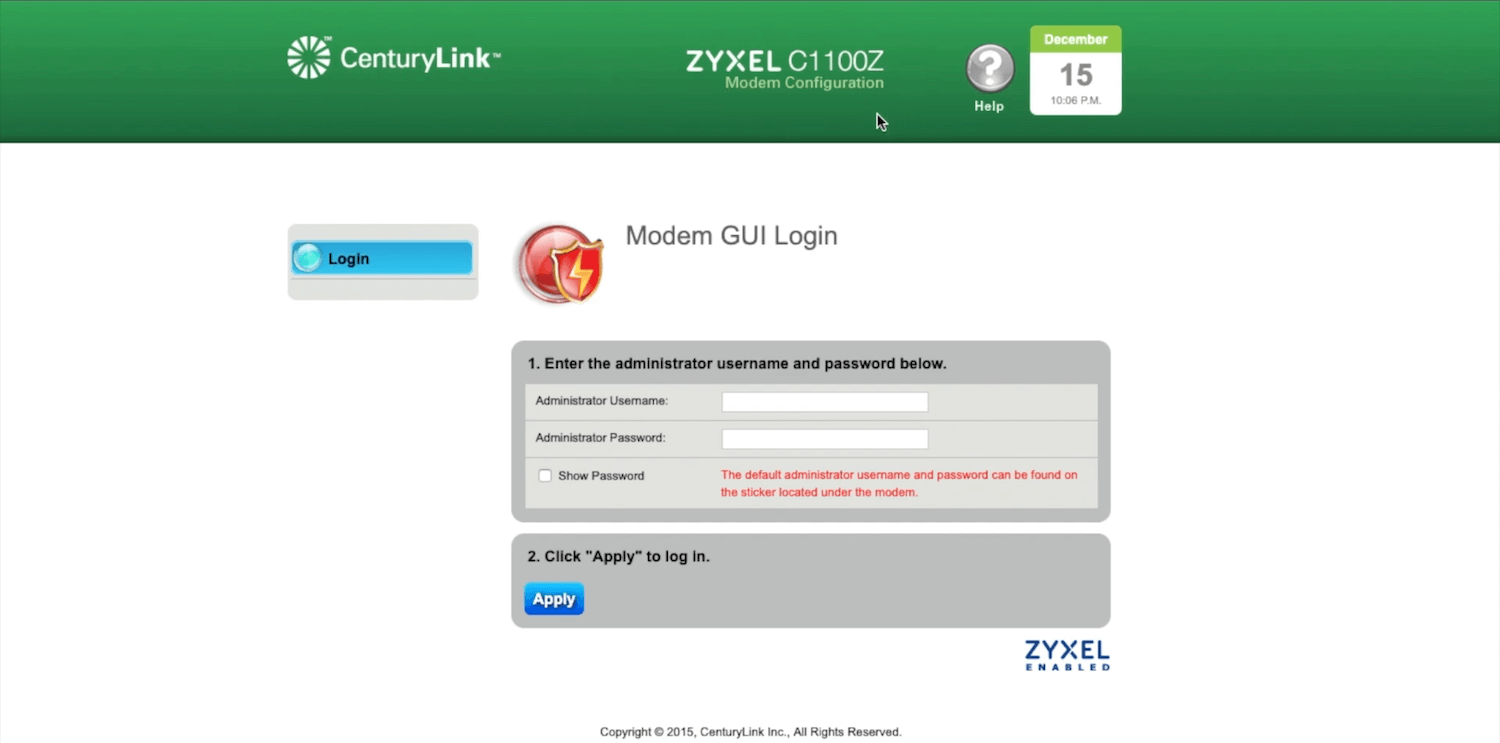
- You will be redirected to the CenturyLink router login page, where you need to enter the Administrator Username and Password.
- If you haven’t changed your login credentials, you can find the default username and password printed on a label at the back of the router.
- Enter the Administrator Username and Password, then click on Apply to log in.
- Congratulations! You are now on the Home Page of your CenturyLink router, where you can configure various settings to suit your needs.
Change CenturyLink WiFi SSID
The SSID (Service Set Identifier) is the name of your WiFi network. The default SSID provided by CenturyLink might be confusing and hard to remember. So why not personalize it? Follow these simple steps to change your CenturyLink WiFi SSID:
- Log in to the router’s settings page using the method mentioned above.
- On the Home Page, navigate to Wireless Setup.
- From the left menu, select SSID Setup.
- Now, choose the SSID that you want to change.
- Scroll down and enter the new SSID in the provided field.
- Click on Apply to save your changes.
Change CenturyLink WiFi Password
The default WiFi password generated by your CenturyLink router consists of a random combination of letters and numbers. While it’s secure, it might be difficult to remember. If you want to change your CenturyLink WiFi password, follow these steps:
- Log in to the router’s settings page using the method mentioned above.
- On the router settings page, click on Wireless Setup.
- From the left menu, select Wireless Security.
- Now, choose the SSID of the network for which you want to change the password.
- Select the security type as WPA2 – Personal.
- Scroll down and select the Use Custom Security Key/Passphrase option.
- Enter your new WiFi password in the Security Key/Passphrase field.
- Click on Apply to save the changes.
- Wait for the router to reboot, and then connect to the network using the new password.
You’ve done it! By following these simple steps, you can now log in to your CenturyLink router settings page and make any necessary changes to your WiFi network. Unlock the full potential of your router and create a personalized WiFi experience that suits your lifestyle. Happy browsing!