Setting up a new router can seem daunting at first, but with our step-by-step guide, you’ll have your TP-Link router up and running in no time. Before we dive in, it’s important to note that you’ll need to contact your internet service provider (ISP) to gather some essential information and login details. Without these, your router won’t be able to connect to the internet. Let’s get started with the setup process!
Connect the Cables and Power On
First things first, make sure you’ve connected the cables from your modem to the WAN port of your TP-Link router. Once that’s done, power on the router and connect to its WiFi network using the default login ID and password provided in the instructional letter that came with your router.
Access the Router Management Page
To access the router management page, open a web browser and enter either 192.168.0.1 or 192.168.1.1 in the address bar. You’ll then be prompted to enter the username and password. In most cases, the default login credentials are admin/admin, but make sure to check the instructional letter or the router’s manual for any specific login information.
Quick Setup
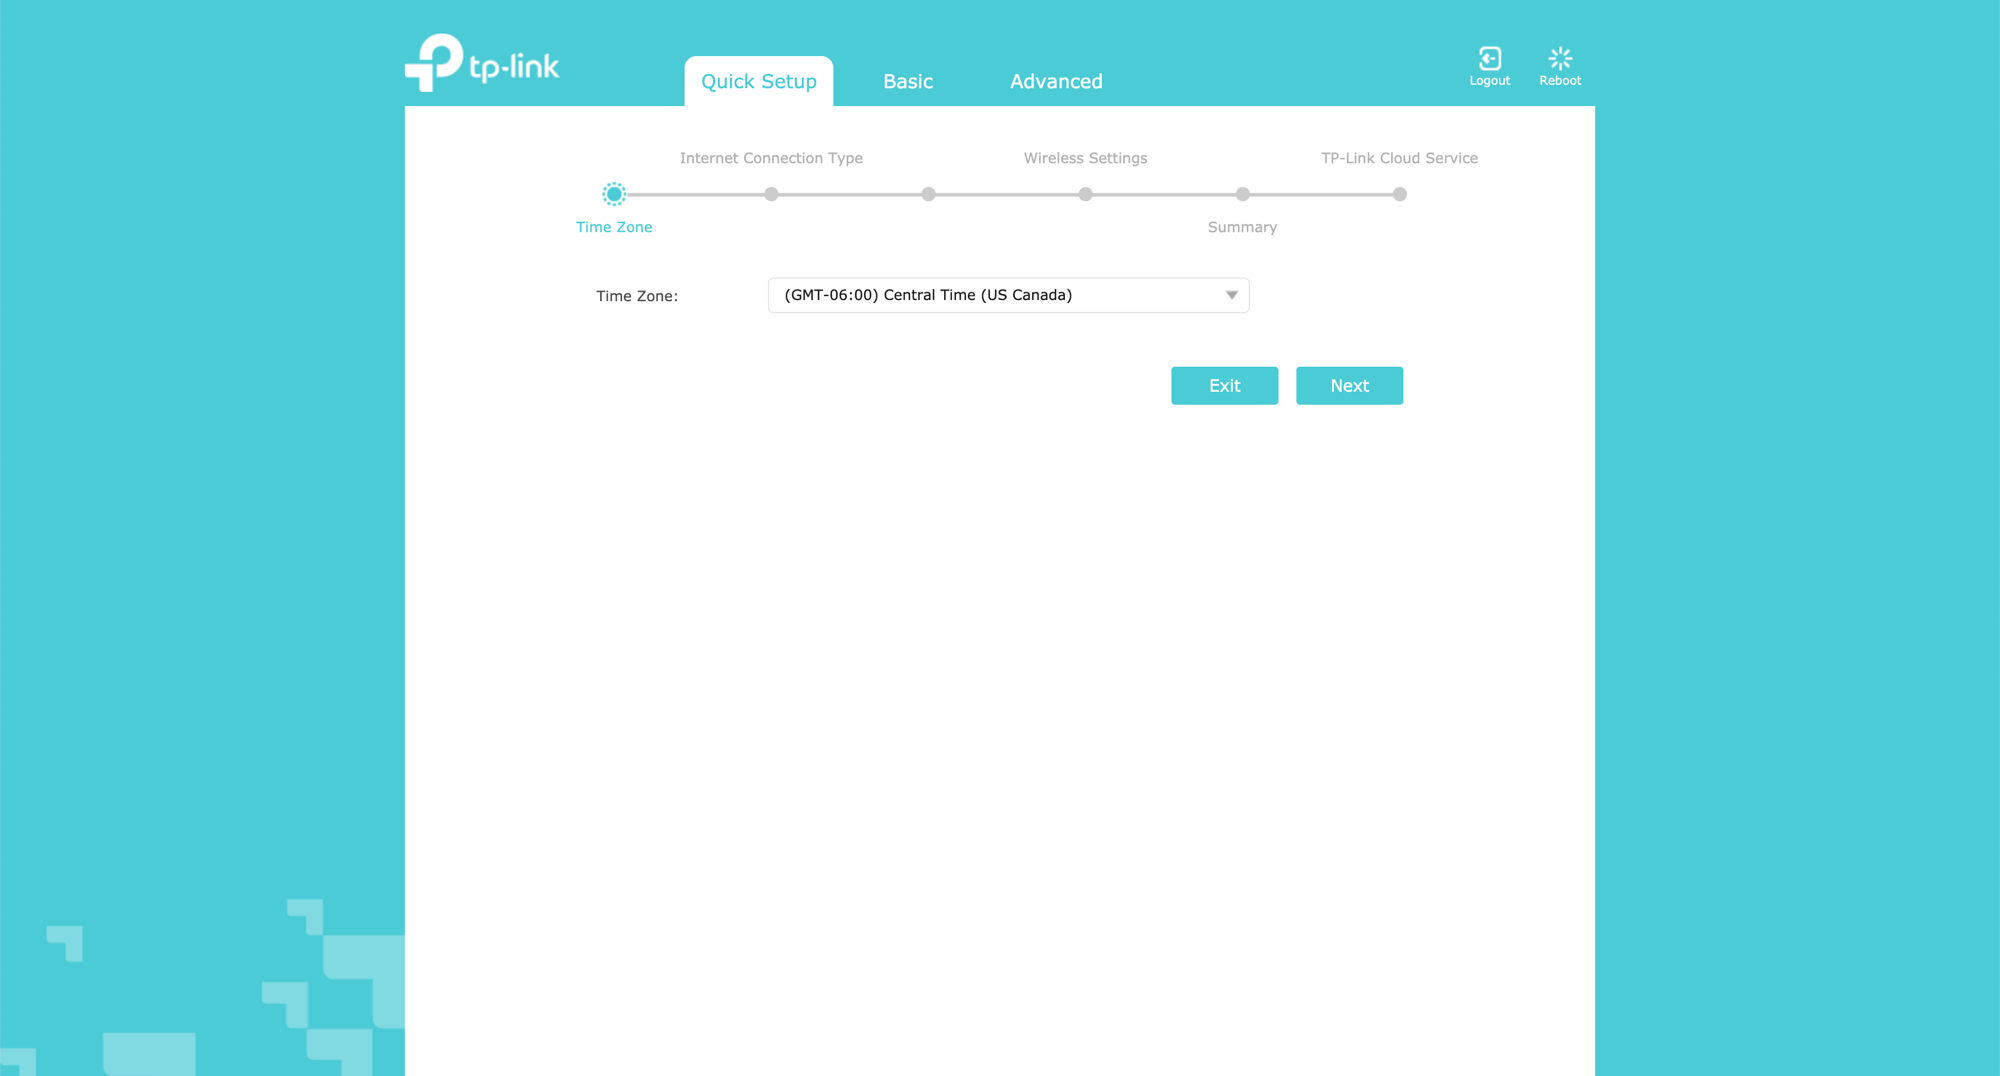
After logging in, navigate to the Quick Setup section. Here, you’ll need to select your timezone and connection type, which is typically PPPoE (Point-to-Point Protocol over Ethernet). For PPPoE connections, you’ll need to enter the username and password provided by your ISP.
Set Up Your WiFi Network
While in the Quick Setup section, you’ll also have the option to set your preferred SSID (WiFi Name) and password. Choose a name and password that are easy for you to remember but difficult for others to guess. Once you’ve made your selections, save the settings, and your router will be connected to the internet.
Troubleshooting: Internet Connection Issues
If your internet status shows as “not connected,” there may be a need to configure your MAC Address. Here’s how:
- Go to Advanced Settings in the router management page.
- Navigate to Network > Internet > MAC Clone.
- Select “Use Current Computer MAC Address” and save the changes.
If you’ve recently switched routers and are using the same cable internet connection, you’ll need to copy the MAC Address from your old router to the new one:
- Connect to your old router and log into the router admin panel using the same method mentioned above.
- Find the MAC Address in the router settings.
- Enter the MAC Address in the “Custom MAC Address” field for your new router.
Final Steps
If you’ve followed all the steps and are still experiencing issues, it’s best to reach out to your ISP for assistance. However, if you need to start from scratch, you can simply reset the router to its default settings by pressing the “RESET” button at the back of the router for 5 seconds.
Setting up your TP-Link router doesn’t have to be complicated. With our comprehensive guide, you’ll be enjoying a stable and secure internet connection in no time. Happy browsing!
Disclaimer: This article is for informational purposes only. Follow the instructions provided by your internet service provider and refer to the instruction manual or TP-Link’s official documentation for any specific router model.
